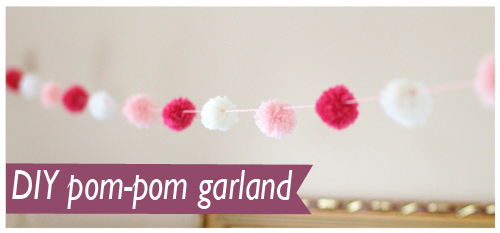
 Today we wanted to share a fun $3 DIY Party Project to make a pom-pom garland. We picked up a pretty good sized bag of yarn for the bargain price of $2.00 from our local Salvo’s Op Shop earlier in the week while trolling for odd bits and pieces we could turn into party magic.
Pom-poms are super easy to make so we decided to make a pom-pom garland in shades of pink to hang on the wall or to decorate a buffet table for a princess themed party. There are a few techniques to making pompoms, we chose the fork technique which we will show you how do do shortly.
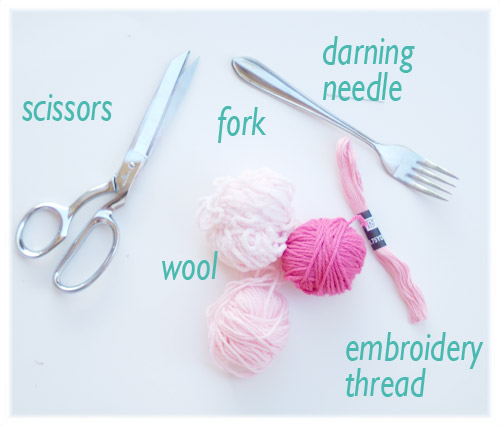
You will need:
- Wool or Yarn in various colors. We used pink, dark pink and white.
- Wool to string your pom-poms onto – you might like to use twine or embroidery thread
- Sharp scissors
- Fork
- Darning needle
First thing to do is to make your pompoms. I enlisted my daughters help and we both got busy and made a bunch of pom-poms. Unfortunately I ended up making all the pompoms on my own as my little helper would only make them if they were in her favourite color blue, she wouldn’t go anywhere near the pink.
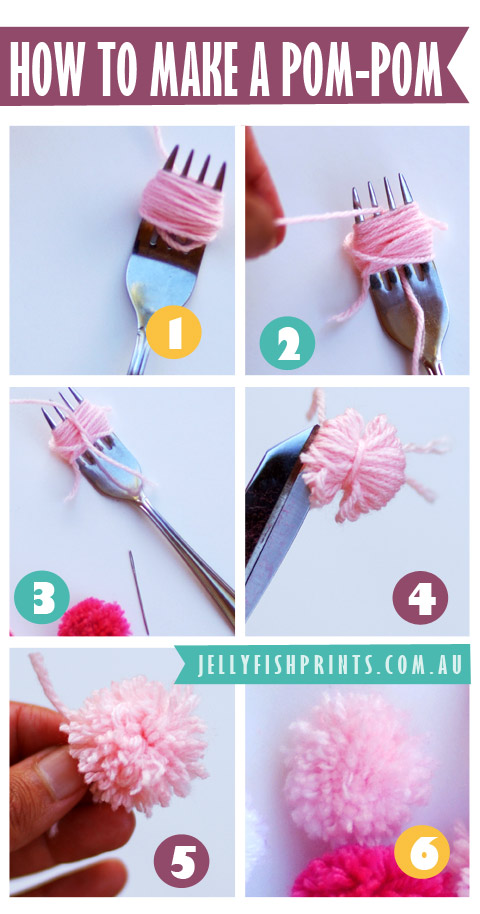
Making pompoms is pretty easy as you can see from our little ‘how to make a pom-pom’ guide below.
Making a basic mini pom-pom
- Basically, you take your yarn and wind it around the tines of your fork. About 50 to 90 times depending on the thickness of your wool.
- Cut a length of yarn about 10cm long.
- Tie the length of yarn tightly around the center. (I like to tie it once as tight as I can, but before I knot the length I slip the pompom off the fork and then pull the length tighter again. Then I complete the knot)
- Take your sharp scissors and cut through the loops.
- Now you need to tidy up your pompom with your scissors. You will take off quite a bit of wool so don’t worry too much if it feels like you’re trimming more than you should.
- Stop trimming when you have a nice round shaped ball.
Assemble your Pom-pom Garland
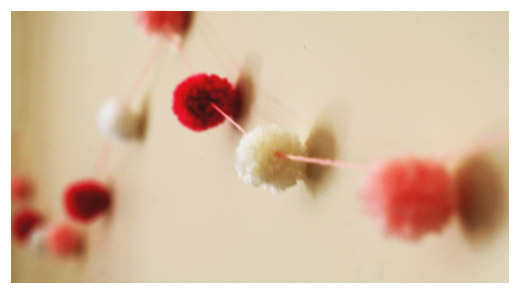
When you have made at least a dozen pom-poms, use a needle and thread to thread them onto a length of yarn spacing them evenly. For these sized pompoms I like to leave a gap of around 12cm between each one. Ensure that you leave approx 30cm of yarn at each end for hanging.
If you would like to make a larger pom-pom Garland then you can check this tutorial to make larger pompoms
These garlands are really versatile and you can use them to brighten up any room. After the party you can reuse it to dress your window, mantle, walls. A Christmas themed garland would look fantastic on your Christmas tree.


 Follow
[…] Pom Pom Garland – Jellyfish Prints […]