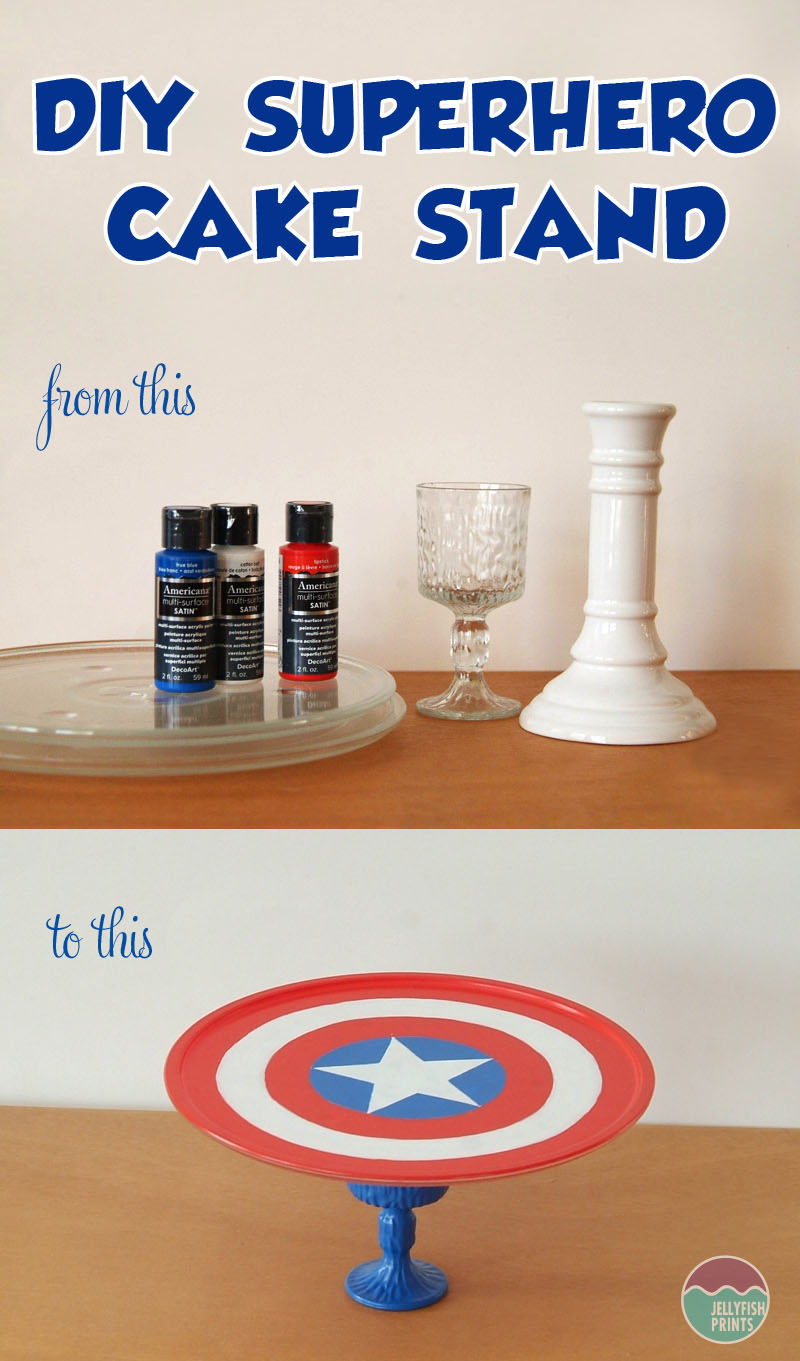
This week I repurposed a couple of glass microwave plates to make Super hero cake stands for a birthday party. Microwave plates are perfect for cake plates as they are nice and big and flat. They do have a raised lip around the edge but that’s no biggie. I went with a Captain America and Spiderman themed cake stand. I’ll admit that they seemed like the easiest designs to replicate – Superman seems way too fiddly to me. Luckily for me our microwave was put out to pasture last week and I was left with a plate that I had intended to drop off at the op-shop until I decided to upcycle it (FYI we replaced it with a flash new plate-less microwave oven so we won’t be getting a cake stand when this microwave karks it) If you don’t have one handy you can usually find them in second hand stores.
Choosing what type of paints to use was a little tricky. I chose to go with the Americana Multi Surface Satin paints. I considered using spray paint – loooove spray paint – but it worked out cheaper to buy these multi-surface paints. Besides the cost, as the name suggests these paints can be used on many surfaces including glass and ceramic and metal. Great, I have a couple of projects in mind for these surfaces so I can use this paint for all 3 surfaces. Saves me from buying separate glass paints and ceramic paints. One thing I will say that I really wanted to use the ‘Enamel’ multi-surface paints over the ‘Satin’ but I could only find the Satin in my local Spotlight store. Each bottle costs about $6.50 each (note I couldn’t find any comparable products at all at Lincraft)
These paints are not food safe however, so you will need to make sure that your party food doesn’t come in direct contact with the cake plate. Place food like cupcakes and treats still in their cases and mini deserts in mini glasses etc. Alternatively you can place a paper doily down but then you wont be able to see the oh so pretty design that you laboured hard to create.
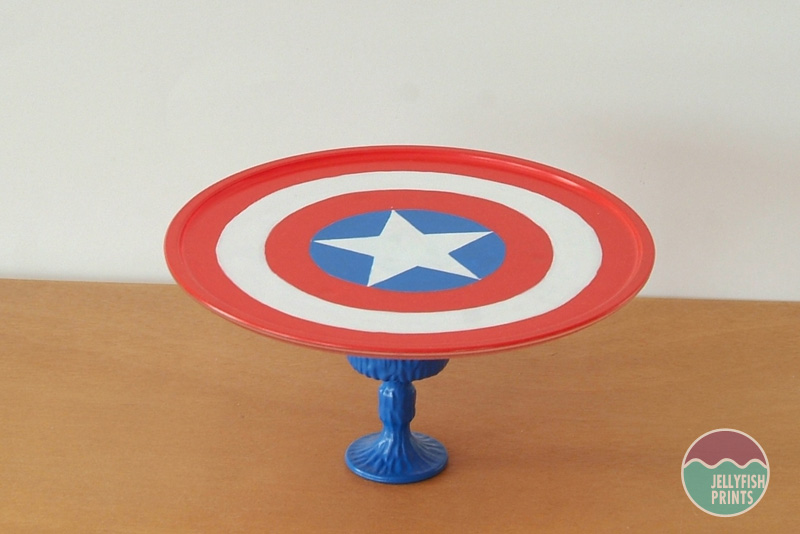
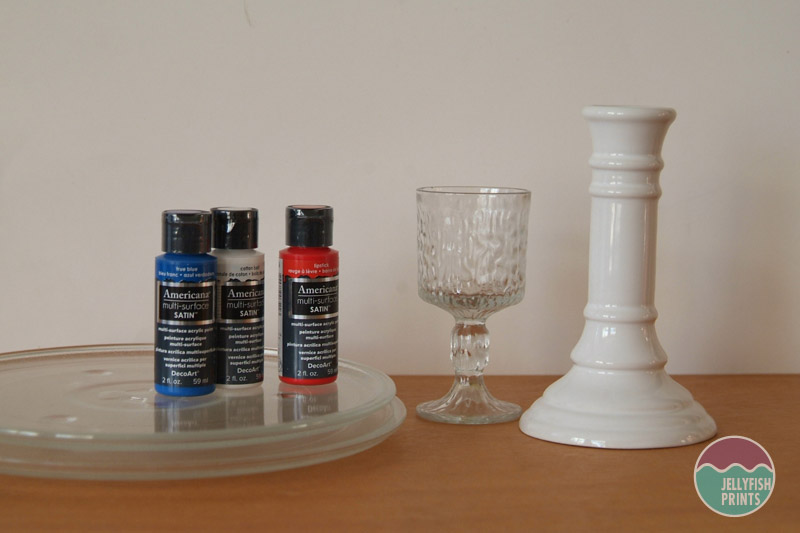
Get your supplies together
- Glass microwave plates
- Americana Multi-surface Satin paints in lipstick red, true blue and cotton ball white
- wine or drinking glass for the base
- candle stick for the base
- Glass cleaner or rubbing alcohol and cotton buds for cleanup
- Epoxy glue
- Paint brush – 1.5cm flat brush and a smaller 1cm flat brush
- Computer and printer for Star template
- Time – you will need at least four days for the paint to air cure so give yourself a week or so to complete this project.
Step 1
Prep your surface for painting. Clean the plate with hot soapy water. Dry and wipe it down with rubbing alcohol to remove any finger prints and oils and stuff. Oils and finger marks will affect the paint sticking to the surface so from now on be careful not to handle the painted surfaces with your fingers.
Step 2
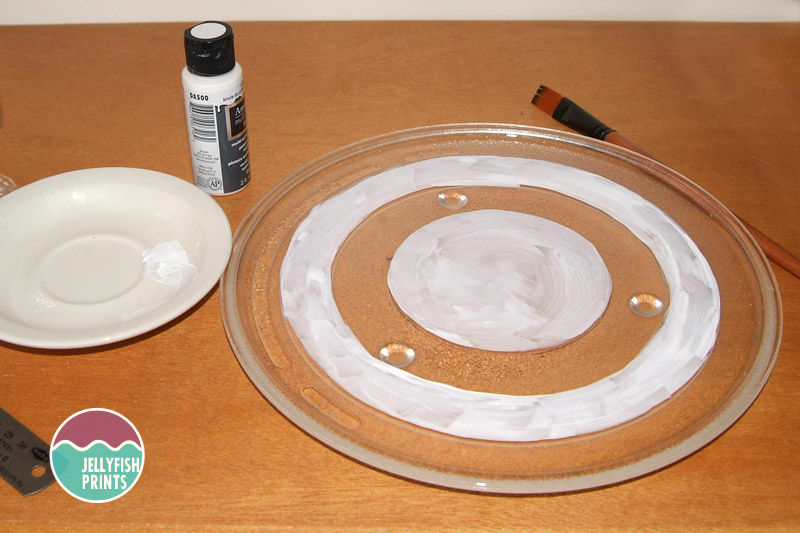
Measure and paint the white parts of the cake plate as pictured with the cotton ball coloured paint. Note that i could have painted the whole plate white first but I wanted to use the circular ring lines etched onto the bottom of the microwave plate as a guide for the white and red sections as they were evenly spaced. This saved me measuring and marking the different sections myself. Sooo lazy 🙂
If you do have to measure the segments yourself the outer three rings are all about the same width and the middle circle has a radius of 2 x width of one outer ring. If that was more math than you were prepared to deal with I’ll just say that my outer rings are approx 2cm, and the inner circle has radius of a little over 4cm (diameter a little over 8cm)
Apply as many coats as needed to get a nice opaque finish. I painted around 7 thin coats. Let it dry completely between coats. It seems like a lot but I just went about my day and brushed on a new coat every 1/2 hour or so, sometimes longer (like overnight)
Tips – Use a 1.5cm flat brush with nice soft bristles. You will get less brush strokes with a softer brush. Don’t worry to much about brush strokes or staying within the lines, I have the shakiest hands ever so there are always bumps and imperfections in my DIY projects. They just add to the charm I reckon – well that’s what I’ve been told and I’m believing it.
Step 3
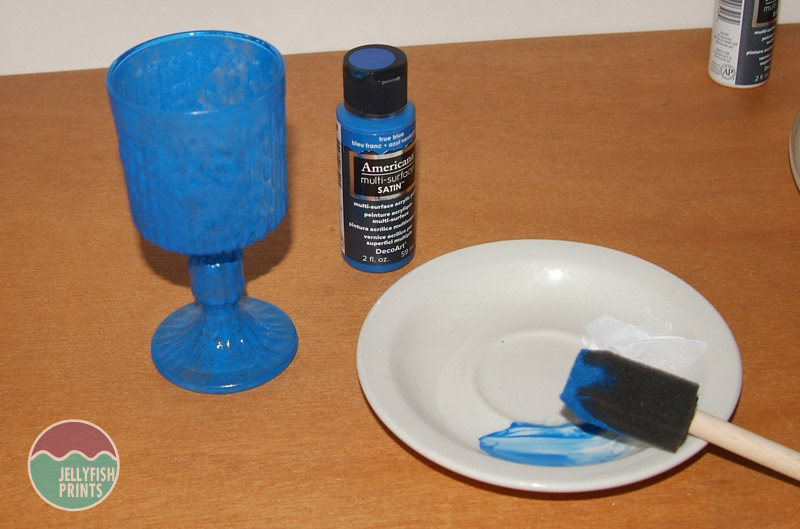
Paint the base of your super hero cake stand. I found this glass at the Salvo’s for 50c. Because the base of this cake stand is a fancy drinking glass I painted it blue. Use a brush to apply a thin coat of paint or a foam paint applicator brush (a makeup sponge is good too) I Used the foam applicator because my glass was all bumpy and had divets all over it. And I wanted to experiment a little too. This darker paint colour only needed three coats of paint for a good opaque finish. Don’t forget to let the glass dry completely between coats.
Step 4
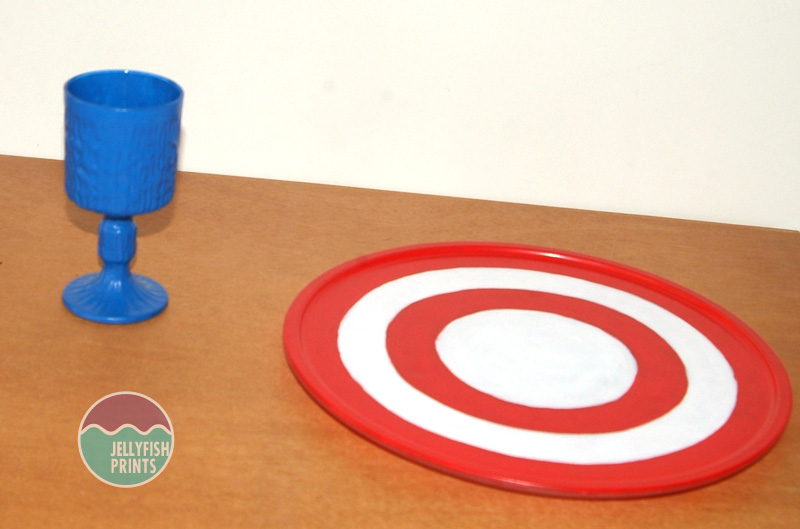
Paint in the red segments on the cake stand with the 1.5 cm flat brush and Lipstick multi surface satin paint. Again don’t fuss too much if you make any mistakes it will still look great.
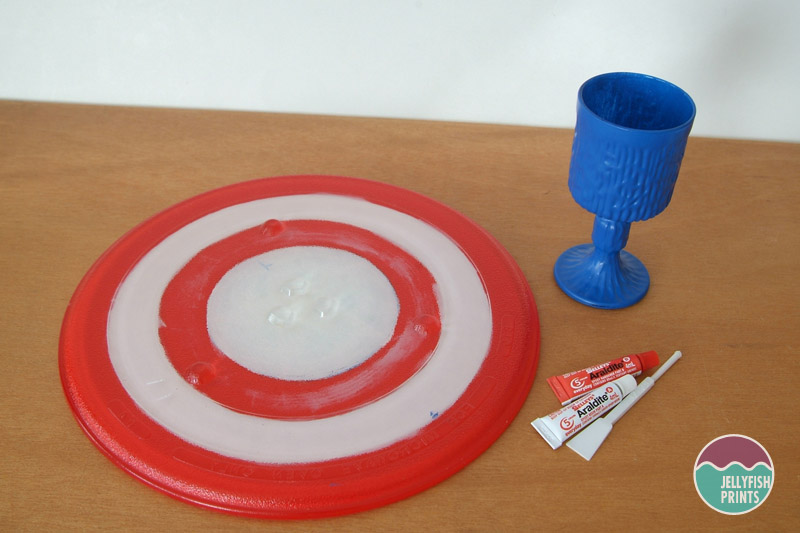
By now your two pieces should look something like this. A nice blue base with at cake plate that at this point looks more like the Target logo at this point. So not cool.
 Step 5
We need a star shape template to fit the circle. Search online for a star image and print it onto paper. You can adjust the stars size in the printing settings, adjust to make the star larger or smaller as required.
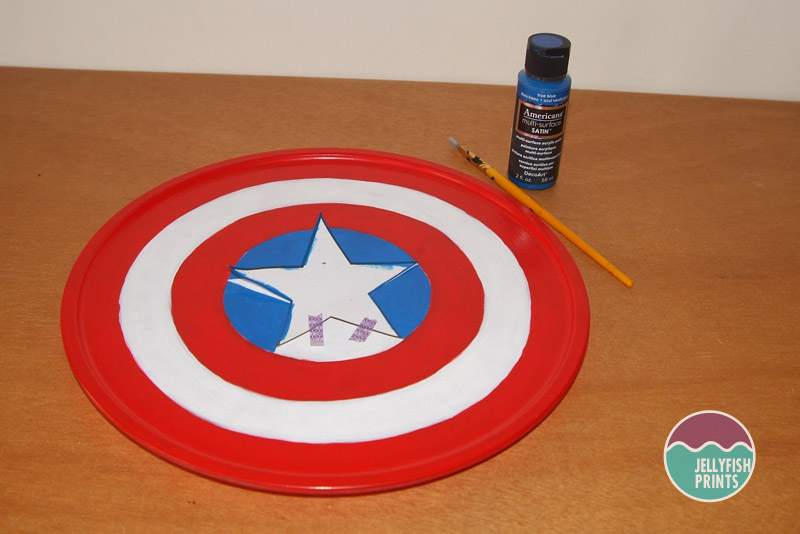
Cut out the star, position and tape it to the plate as pictured. You will have 5 sections to paint blue. Use painters masking tape or washi tape and tape it down in one of the 5 sections. Press the tape to your shirt a few times first to make it less sticky and reduce the chance of damaging your white paint finish.
Apply the paint to the other 4 sections with a smaller 1cm flat brush and really light coats. I applied approx 4 coats of paint. After the last coat has fully dried. Carefully remove the tape without moving the star and tape the star down from a different section. Now paint the last unpainted section of the star blue.
 Step 6
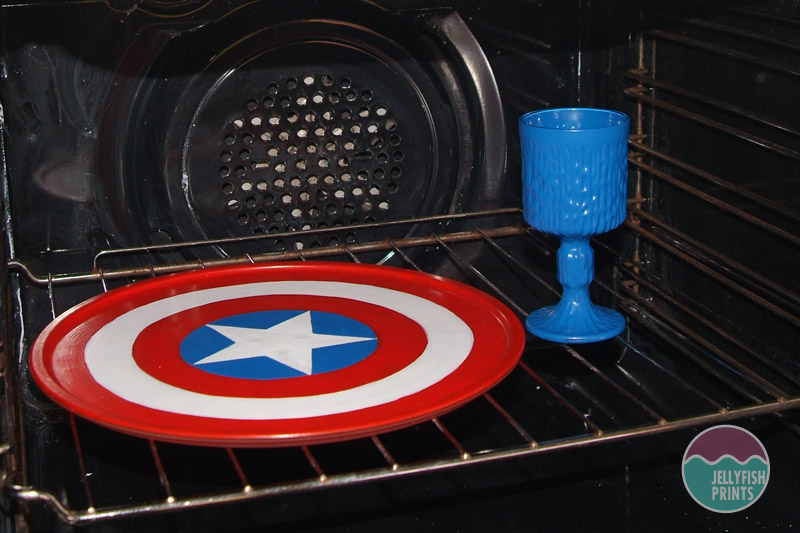
Time to bake the cake plate. Baking the pieces makes them more durable and dishwasher proof. I would still recommend hand washing only though.
Set the two finished pieces aside to cure for four days as per the instructions on the back of the bottle. This week was quite wet and cold. I thought I would play it safe and give my pieces an extra couple of days to air cure.
Pop the plate and base in your cold oven. Turn up the heat to 160°C (325°F) Bake for 30 minutes. Turn off your oven and leave the pieces in the oven to cool completely with the oven door open. These instructions are on the back of the paint bottle.
I have to say I was pleasantly surprised when I pulled my pieces from the oven. The paint finish really does feel quite durable. To test the paint finish I had painted a stroke or two of the white paint onto the back of the cake plate and a bit of blue to the bottom of the glass. After they were baked in the oven I tried to scratch off the paint with my finger nail but the paint didn’t chip away at all. It gave me some piece of mind that the paint won’t peel off after one use, although I still won’t let anyone touch them yet. Control freak that I am. You can try this test for yourself if you like.
Step 7
Time to glue it all together. Use a strong epoxy glue like Araldite 2 part epoxy adhesive. Be sure to follow the adhesives instructions carefully.
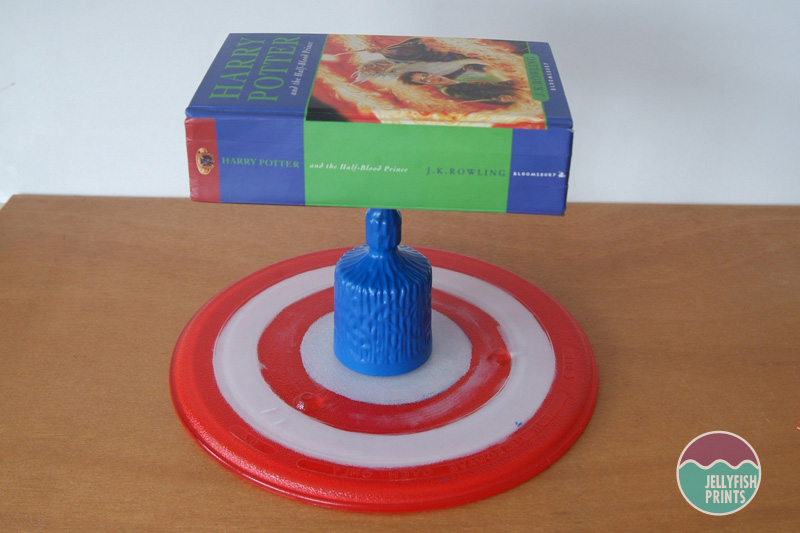
Turn your cake plate upside down on a flat surface. Take your base and position it onto the center of the cakeplate, take a pencil and trace around the glass to draw the guides to replace the base after the glue has been applied. Apply epoxy to the lip of the drinking glass that will be making contact with the cake plate. Join the base carefully with the plate using your pencil tracing to guide you. Press gently down onto the glass.
Place a heavy hard back book onto the glass and leave it to set for at least a couple of hours or overnight.
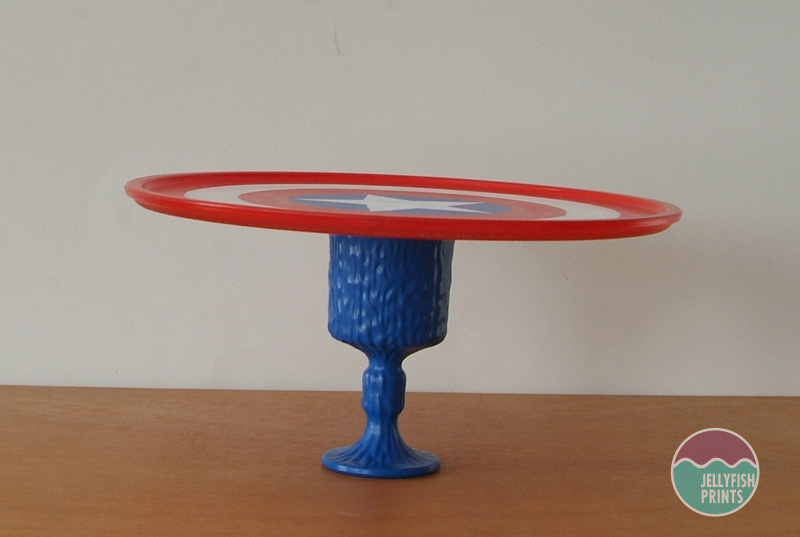
When you wake up in the morning your super flash Captain America super hero cake stand will be ready to go! Now to go paint a spiderman one….
 Follow